

Traditional Christmas Dessert Recipes
Christmas is such a special time of year! And the four of us moms at Just Homemaking would love to share with you some of our Favorite Recipes that we make every year.
I bet you have a handful of wonderful recipes you use year after year! Food that your kids ask for once December comes. For my kids, it’s all about the desserts.
They ask for apple pie, sugar cookies, and cinnamon rolls! They know this time of year is when mom spends a little more time baking and preparing.
We want to share a few of our most favorite recipes with you, and hope that your family enjoys them as much as ours.
Jump to Recipe:
Ginger Creams
Toffee
Snowball Cookies
Apricot Rolls
**This post may contain affiliate links. That means if you click and buy, we may make a commission at no extra cost to you. Please see our full Disclosure Policy for more details.**


Suzanne’s Ginger Creams
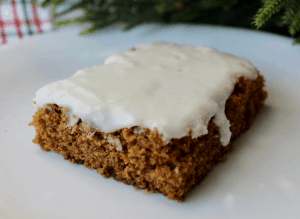
If you’re looking for a new (to you) sheet cake for the holidays, my Grandma’s Ginger Cream recipe is a must. It’s old fashioned goodness and is plenty of dessert for a crowd!
My Grandma Emily was known for her amazing desserts. She was a wonderful homemaker as well, but if you ask anyone who had the pleasure of knowing her, they would absolutely tell you of their favorite treat she used to share with them.
The problem was that my Grandma had eight kids! And those eight kids had thirty-two grandkids. I tell you that because of what that meant for us…if you wanted some of my Grandma’s dessert at Christmas, you’d better get some quickly (or sneak some and hide it in a cabinet) or you’d be out of luck.
At every holiday you could count on her to make some of her famous homemade treats like pies, sugar cookies, cakes, and donuts. We have always been a sugar-loving family and I completely blame (and love) my Grandma for this.
Today I’d love to share a very special recipe with you that my sweet Grandma would make. It’s a sheet cake recipe, but with loads of special holiday ingredients like molasses, coffee, cinnamon, and ginger.
Then you top it off with a hefty layer of homemade frosting, because everything is better with frosting.
Please give this recipe a try and share it with some people you love. My Grandma would be so proud to have her love continue on through her desserts.

Preheat oven to 350 degrees.
Combine dry ingredients: Flour, salt, baking soda, cinnamon, and ginger. Stir together and set aside.
In a separate large bowl (I use my mixer) combine wet ingredients. First cream together butter and sugar. Then add eggs one by one until incorporated. Finally, pour in molasses and coffee slowly. Mix until smooth.
Slowly add dry ingredients to wet ingredients while stirring. Mix until smooth. Will be the consistency of a cake mix.
Transfer cake batter to an oiled sheet pan, like a cookie sheet.
Bake for 18-20 minutes until a toothpick comes out clean.
To make frosting, combine all ingredients. Start with 6 tbsp of milk and add more to achieve the thickness you like.
Once the cake is cool, layer the frosting on top.
Serve.
Ingredients

Jenna’s Toffee
My Aunt Kathie makes THE BEST toffee. I remember looking forward to it every Christmas season, when she would bring a tray for the Family Christmas Party, and send a container of it home with each of her siblings.
When I became a young wife and mom at age 20, I wanted to make it for my new family. It was one of those things that I wanted to make sure I knew how to do.
Thankfully, Aunt Kathie isn’t stingy with her recipes.
And now I’m so glad I know how to make it. I moved 850 miles away from my family, but can still think of Aunt Kathie every time I make a batch.
Helpful items
Wooden spoon or silicone spatula
Metal spoon
Greased cookie sheet
Candy thermometer

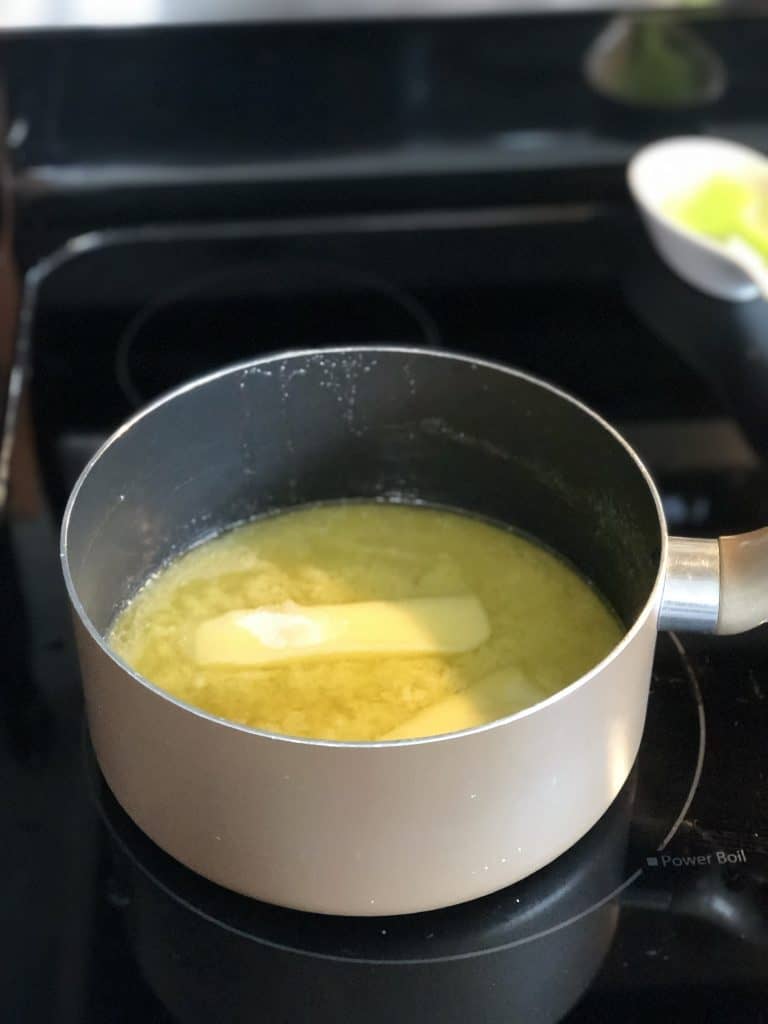
Combine the first set of ingredients in a saucepan on medium low heat, stirring every 3-5 minutes, except for the last 5-10 minutes, you’ll want to stir fairly constantly. Use a wooden spoon or silicone spatula for stirring.
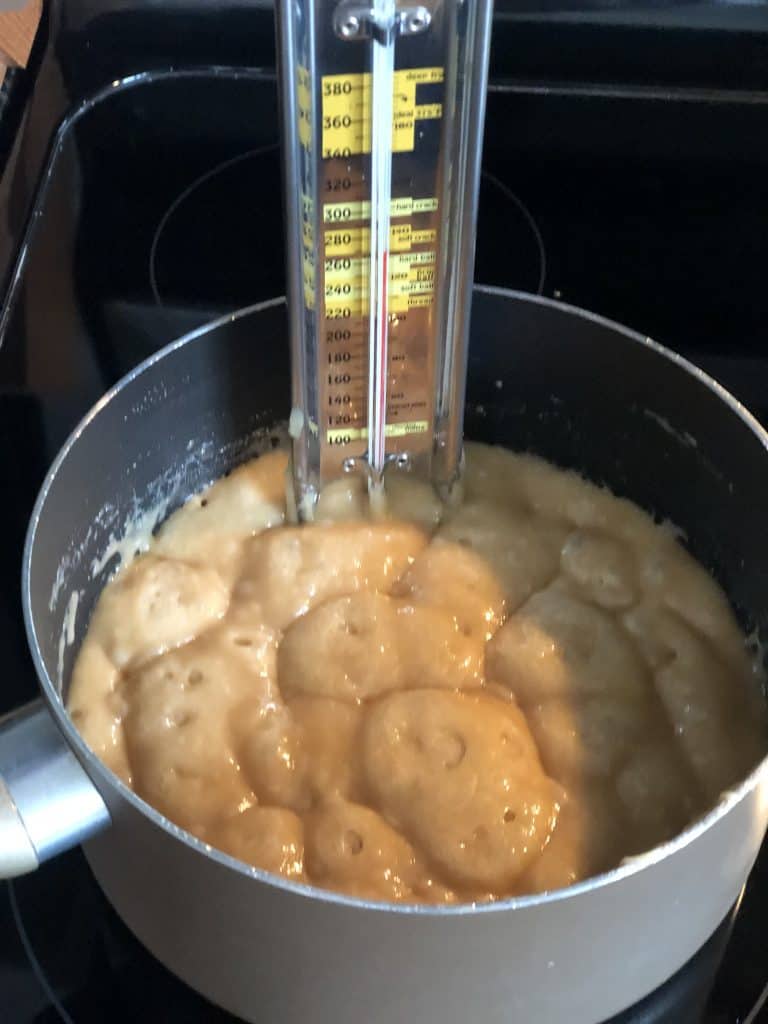
The candy has to reach 300 degrees to be at “hard crack” candy stage. (A candy thermometer is helpful for those that haven’t made it before.) This usually takes about 30-40 minutes when I make it.
Once the candy has reached 300 degrees, mix in ¼ c. chopped nuts and remove from heat.
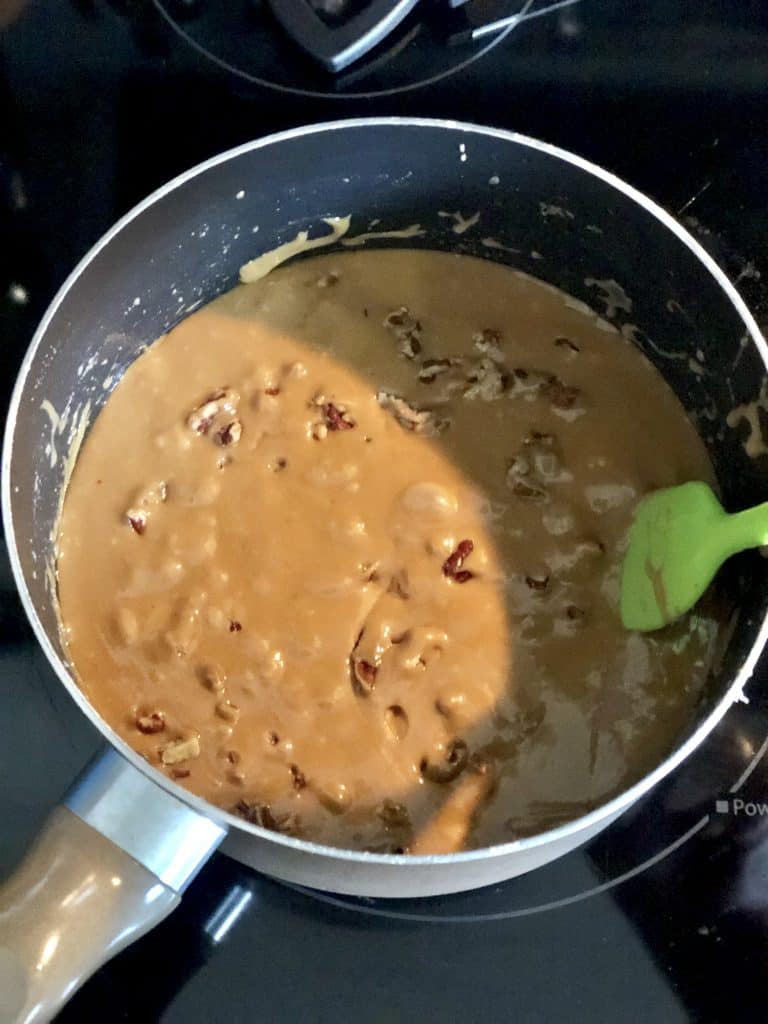
Pour into greased cookie sheet (be sure to protect your countertops!).
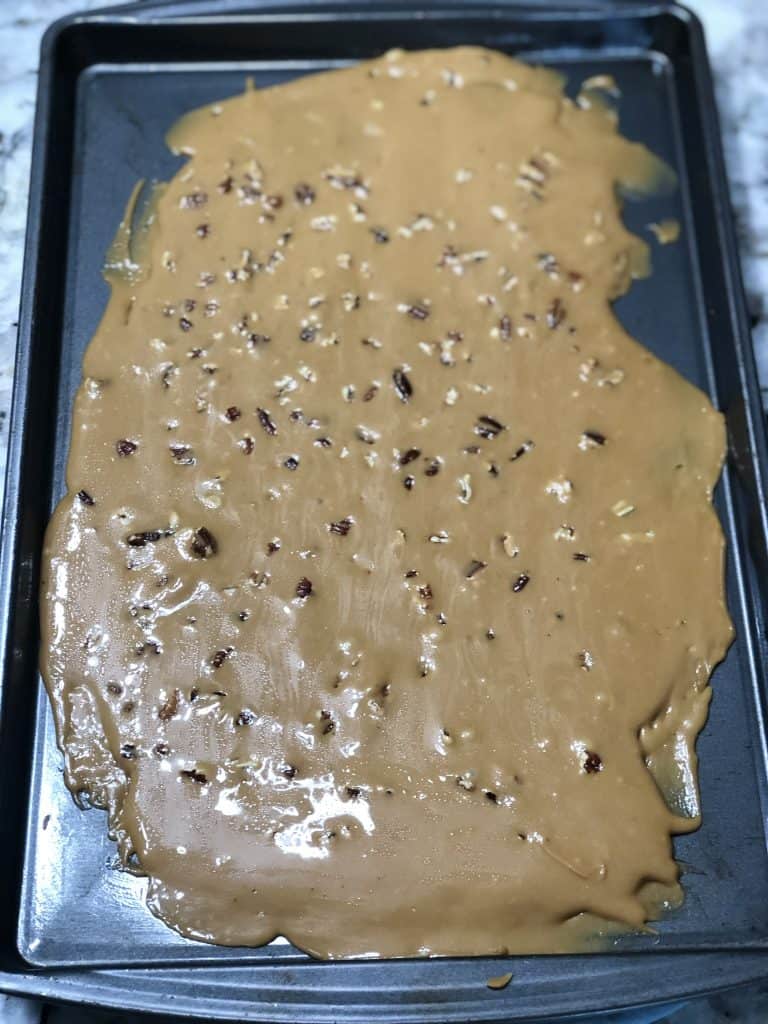
Lay pieces of Hershey’s bar on top. Spread the chocolate with a metal spoon as it melts to make a top layer.
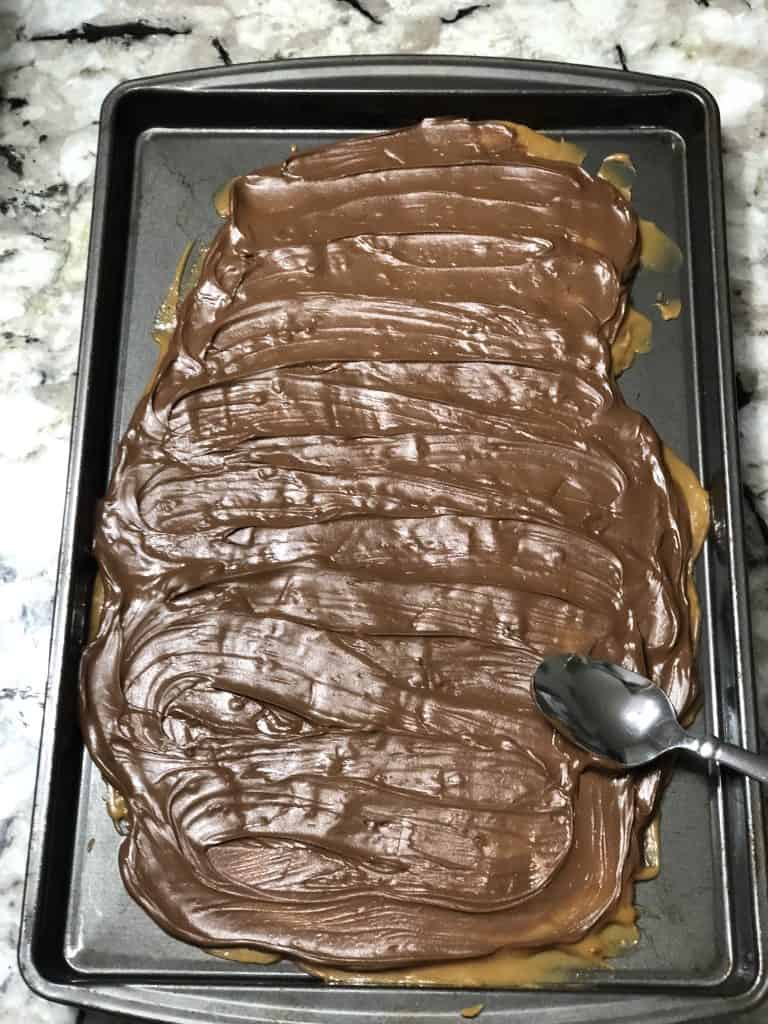
Sprinkle remaining nuts on top.
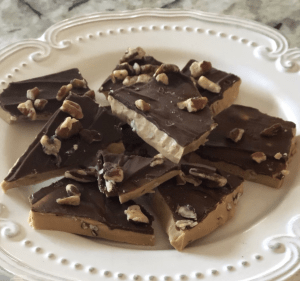
Let cool until hardened, and then crack into pieces. I prefer to store it in a covered holiday container in the refrigerator with waxed paper between layers.
Ingredients

Nicole’s Snowball Cookies
When I asked my hubby which Christmas cookie is his favorite, he didn’t even hesitate and said, “no question, your snowball cookies.”
There are probably a million snowball cookie recipes on the internet, but this one is our absolute favorite. Not only is it a deliciously indulgent cookie, but we love it so much because of the memories it brings back.
Looking back, I can still feel the holiday magic in our little apartment the first time we made these.
Christmas has always been my favorite time of the year, but that year was really special because we had just moved back close to family.
Our budget was really tight, but it didn’t matter because every cinnamon scented moment, and pine decorated space felt like a new beginning. So, with *NSYNC Christmas music playing in the background, and our fireplace dvd playing on the tv, my hubby helped me make cookies late in the evening when our littles were sleeping.
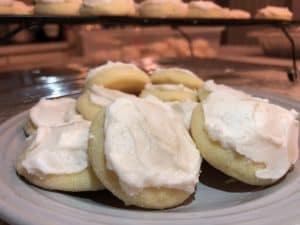
These sugar rolled “snowballs” would be delicious by themselves, but then add mouth-watering whipped frosted to the top and they become beyond scrumptious.
However, it doesn’t stop there, we love to add edible glitter on top. My hubby uses a mini paint brush and dusts the glitter on top of the freshly frosted snowballs. Here’s the edible glitter I use:
The end result is like waking up to glittery snow on Christmas morning, only it tastes so much better!

Preheat oven to 350 degrees.
Cream together butter and shortening, and then add the sugar mixing until it is fluffy.
Add eggs and vanilla.
Sift dry ingredients together in a separate bowl, and add them to the wet mixture and mix until the dough forms.
Shape into 3/4-inch balls (place dough in fridge for an hour if it is too sticky).
Put sugar in shallow bowls and roll each ball in sugar. Place them on baking sheets 1 inch apart.
Bake in preheated oven for 9-11 minutes, or until the tops start to crackle. (Don't let them get brown - you want them to stay soft for the “snowball effect.”
Cool completely.
Frost and glitter as desired.
Enjoy!
Ingredients

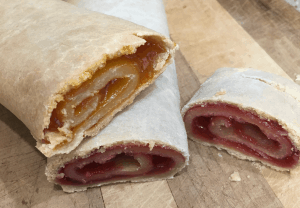
Melissa’s Apricot Rolls
Apricot rolls have been a family tradition for over 50 years. My mom, her mom, and many members of our family make these rolls every year around Christmas.
They make a wonderful dessert and also a tasty breakfast. One of my favorite memories was making these rolls with my mom and sister-in-law and knowing that they will be at our family gatherings.

Scald milk.
Add sugar, butter, and salt.
Dissolve yeast to 1 cup lukewarm water.
Add to lukewarm milk mixture.
Add 6 cups flour and beat well.
Add 4 beaten eggs and add remaining flour. Beat well.
Knead dough for about 10 min. Let rise for 1 hour or until it doubles in size.
Shape into 10 balls and let rest 20 to 30 minutes.
Roll dough out fairly thin. Spread filing to ends of dough.
Roll dough tight. Grease and let rise again 45 minutes.
Bake 350 degrees for 45 minutes to 1 hour.
Brush with margarine.
Ingredients
Read Also:
Ginger Cream Bars Recipe Get the full scoop on this delicious sheet cake!
Delicious Gourmet English Toffee You Can Make Yourself More details for this scrumptious recipe!
7 Christmas Wall Decor Printables to Bring the Holly and Jolly into Your Home Use these simple yet stunning printables to deck your halls this Christmas season! (There’s even a freebie in here!)